fluid 主题优化

本文最后更新于 2025年2月9日 下午

根目录是 C:\blog, 主题目录是 C:\blog\node_modules\hexo-theme-fluid

固定背景和设置透明度

  1. 在根目录下新建一个 scripts 目录,里面添加一个 bg.js 的文件

    1
    2
    3
    const {root: siteRoot = "/"} = hexo.config;
    hexo.extend.injector.register("body_begin", `<div id="web_bg"></div>`);
    hexo.extend.injector.register("body_end",`<script src="${siteRoot}js/backgroundize.js"></script>`);
  2. 在主题目录的 source/js/ 添加 backgroundize.js 文件

    1
    2
    3
    4
    5
    6
    7
    8
    9
    10
    11
    // 在电脑端显示的背景图片链接
    const desktopBgImageUrl = "url('/img/default.webp')";

    // 在电脑端设置背景图片
    document.querySelector('#web_bg').setAttribute('style', `background-image: ${desktopBgImageUrl};position: fixed;width: 100%;height: 100%;z-index: -1;background-size: cover;`);

    // 设置 banner 的背景图片为空
    document.querySelector("#banner").setAttribute('style', 'background-image: none');

    // 设置 banner 的. mask 背景颜色透明
    document.querySelector("#banner .mask").setAttribute('style', 'background-color: rgba(0,0,0,0)');
  3. 添加 glassBg.css 文件

    1
    2
    3
    4
    5
    6
    7
    8
    9
    10
    11
    12
    13
    #board {
    -webkit-backdrop-filter: blur(15px);
    backdrop-filter: blur(15px);
    }

    #toc {
    padding: 10px;
    top: 4rem;
    background-color: var(--board-bg-color);
    border-radius: 10px;
    -webkit-backdrop-filter: blur(15px);
    backdrop-filter: blur(15px);
    }
  4. _config.fluid.yml 文件中找到 custom_jscustom_css 把上述文件添加进去

    1
    2
    3
    4
    custom_js:
    - /js/backgroundize.js
    custom_css:
    - /css/glassBg.css
  5. _config.fluid.yml 文件中找到并替换

    1
    2
    board_color: "#ffffff80"
    board_color_dark: "#00000080"
  6. 使用 hexo cl && hexo g && hexo s 查看

添加运行时间

在主题目录下的 layout/_partials/footer.ejs 最后的 </div> 前面添加

1
2
3
4
5
6
7
8
9
10
11
12
13
14
15
16
17
18
19
20
21
22
23
24
25
26
27
28
29
30
31
<div>
<span id="timeDate"> 正在载入天数...</span>
<span id="times"> 载入时分秒...</span>
<script>
var now = new Date();
function createtime(){
var grt= new Date("1/12/2025 01:15:00");
now.setTime(now.getTime()+250);
days = (now - grt) / 1000 / 60 / 60 / 24;
dnum = Math.floor(days);
hours = (now - grt) / 1000 / 60 / 60 - (24 * dnum);
hnum = Math.floor(hours);
if(String(hnum).length ==1 ){
hnum = "0" + hnum;
}
minutes = (now - grt) / 1000 /60 - (24 * 60 * dnum) - (60 * hnum);
mnum = Math.floor(minutes);
if(String(mnum).length ==1 ){
mnum = "0" + mnum;
}
seconds = (now - grt) / 1000 - (24 * 60 * 60 * dnum) - (60 * 60 * hnum) - (60 * mnum);
snum = Math.round(seconds);
if(String(snum).length ==1 ){
snum = "0" + snum;
}
document.getElementById("timeDate").innerHTML = "🚀本网站已飞行 & nbsp"+dnum+"&nbsp 天";
document.getElementById("times").innerHTML = hnum + "&nbsp 时 & nbsp" + mnum + "&nbsp 分 & nbsp" + snum + "&nbsp 秒";
}
setInterval("createtime()",250);
</script>
</div>

打字机渐变

在根目录的 _config.fluid.yml 文件中找到 custom_js 添加

1
2
custom_js:
- //cdn.jsdelivr.net/gh/EmoryHuang/BlogBeautify@1.1/gradient.css # 头部打字机颜色效果渐变

优化版权声明

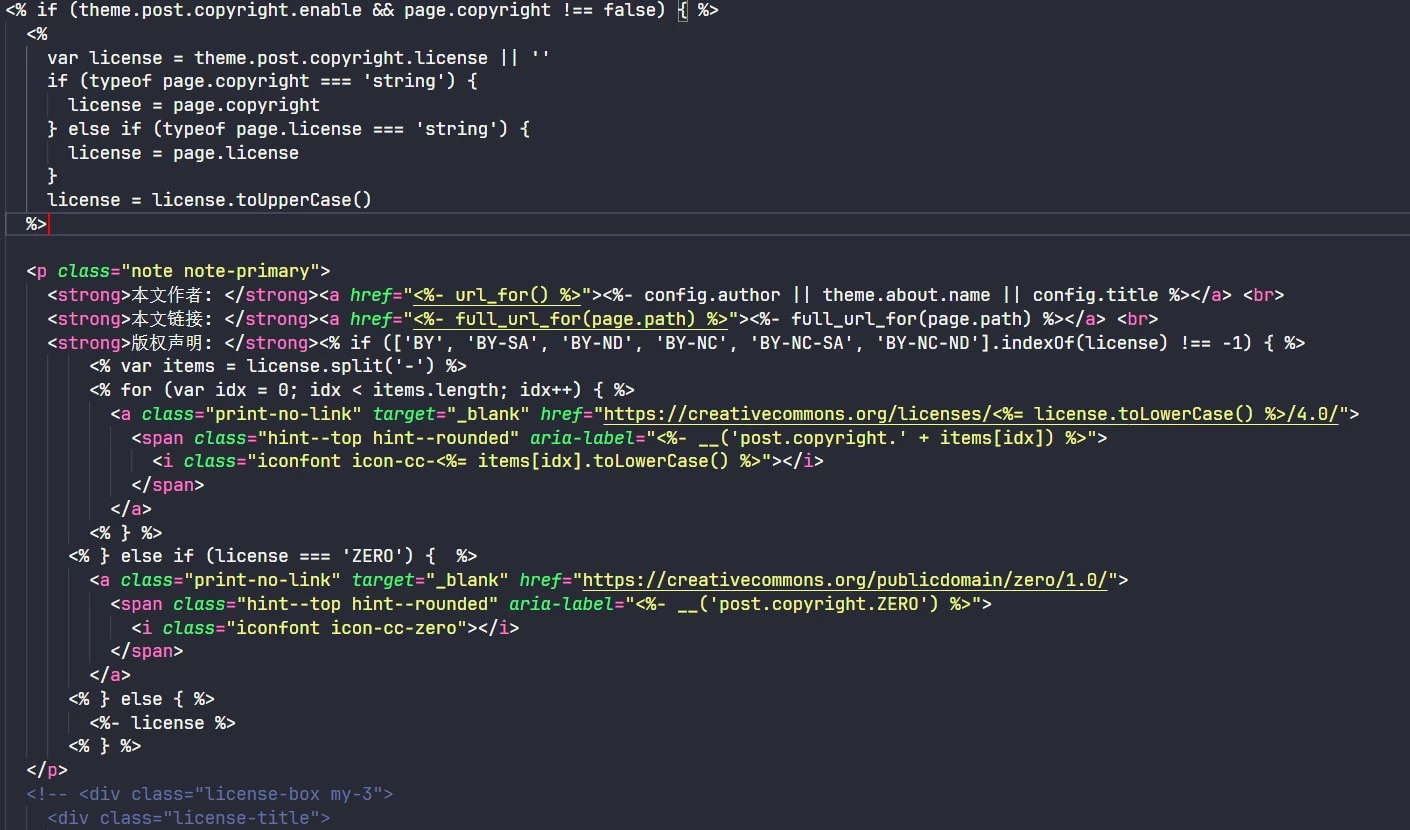
在主题目录下的 layout/_partials/post/copyright.ejs 文件添加一下内容
cover

1
2
3
4
5
6
7
8
9
10
11
12
13
14
15
16
17
18
19
20
21
22
<p class="note note-primary">
<strong> 本文作者: </strong><a href="<%- url_for() %>"><%- config.author || theme.about.name || config.title %></a> <br>
<strong> 本文链接: </strong><a href="<%- full_url_for(page.path) %>"><%- full_url_for(page.path) %></a> <br>
<strong> 版权声明: </strong><% if (['BY', 'BY-SA', 'BY-ND', 'BY-NC', 'BY-NC-SA', 'BY-NC-ND'].indexOf(license) !== -1) { %>
<% var items = license.split('-') %>
<% for (var idx = 0; idx < items.length; idx++) { %>
<a class="print-no-link" target="_blank" href="https://creativecommons.org/licenses/<%= license.toLowerCase() %>/4.0/">
<span class="hint--top hint--rounded" aria-label="<%- __('post.copyright.'+ items[idx]) %>">
<i class="iconfont icon-cc-<%= items[idx].toLowerCase() %>"></i>
</span>
</a>
<%} %>
<%} else if (license === 'ZERO') { %>
<a class="print-no-link" target="_blank" href="https://creativecommons.org/publicdomain/zero/1.0/">
<span class="hint--top hint--rounded" aria-label="<%- __('post.copyright.ZERO') %>">
<i class="iconfont icon-cc-zero"></i>
</span>
</a>
<%} else { %>
<%- license %>
<%} %>
</p>

将添加内容以下除了倒数第一行都注释掉

设置代码块主题为 material 主题

如果对 material 主题不满意, 可在 highlight js 网站挑选喜欢的

在 _config.fluid.yml 文件中找到 highlightjs 修改 style 和 style_dark

1
2
3
4
5
6
highlightjs:
# 在链接中挑选 style 填入
# Select a style in the link
# See: https://highlightjs.org/demo/
style: "base16/material"
style_dark: "base16/material"

代码块美化

可查看这位大佬的 代码块美化

必应收录

打开网站Bing Webmaster Tools登录

添加网站选择手动添加

验证网站下载BingSiteAuth.xml文件,将文件放在blog/source目录下,使用hexo cl; hexo d -g推送到github仓库里,在Webmaster页面验证即可

添加网站地图在blog/下打开powershell,输入

1
npm install hexo-generator-sitemap --save

blog/_config.yml最后添加

1
2
sitemap:
path: sitemap.xml

hexo cl; hexo d -g推送到github上

提交网站地图,输入sitemap.xml位置,我的是https://www.wcisns.top/sitemap.xml

URL检查,请求编制索引

URL检查遇到的问题在_config.yml
标题必须不少于15字
description不少于25字在blog/node_modules/hexo-theme-fluid/layout/layout.ejs<body>标签后面添加<h1><%= page.title %></h1>